


2023.12.16
Development
【AI Shift Advent Calendar 2023】React Hook Formで動的なFormを作るには

こんにちは、AIShift で内定者アルバイトをしているフロントエンドエンジニアの伴です。 本記事は本記事はAIShift Advent Calendar 2023の 16 日目の記事になります。 今回は、AIShiftのVoicebot 管理画面のリファクタリングで使用することになったReact Hook Formについてお話したいと思います。
React Hook Formとは
React Hook FormはReactのフォームライブラリであり、input入力した値の管理を簡単に扱うことができます。 また、バリデーションライブラリであるZodなどを用いることで手軽にバリデーションを機能させることができます。 React Hook Formを用いることで、フォームデータをuseStateで管理する必要がなくなることやフォームデータを手動で管理する必要がなくなるので、再レンダリングが最小限に抑えられ、パフォーマンス向上にも繋がります。
その中でも今回は、useFieldArrayに焦点を当ててお話しできればと思います。
useFieldArrayとは
一つのカラムに対して、複数の要素を持ちたい場合にuseFieldArrayを使うと便利です。 例えば、Todo リストに Todo を追加したり、削除したりする際に使用すると簡単に実装を行うことができます。
実装
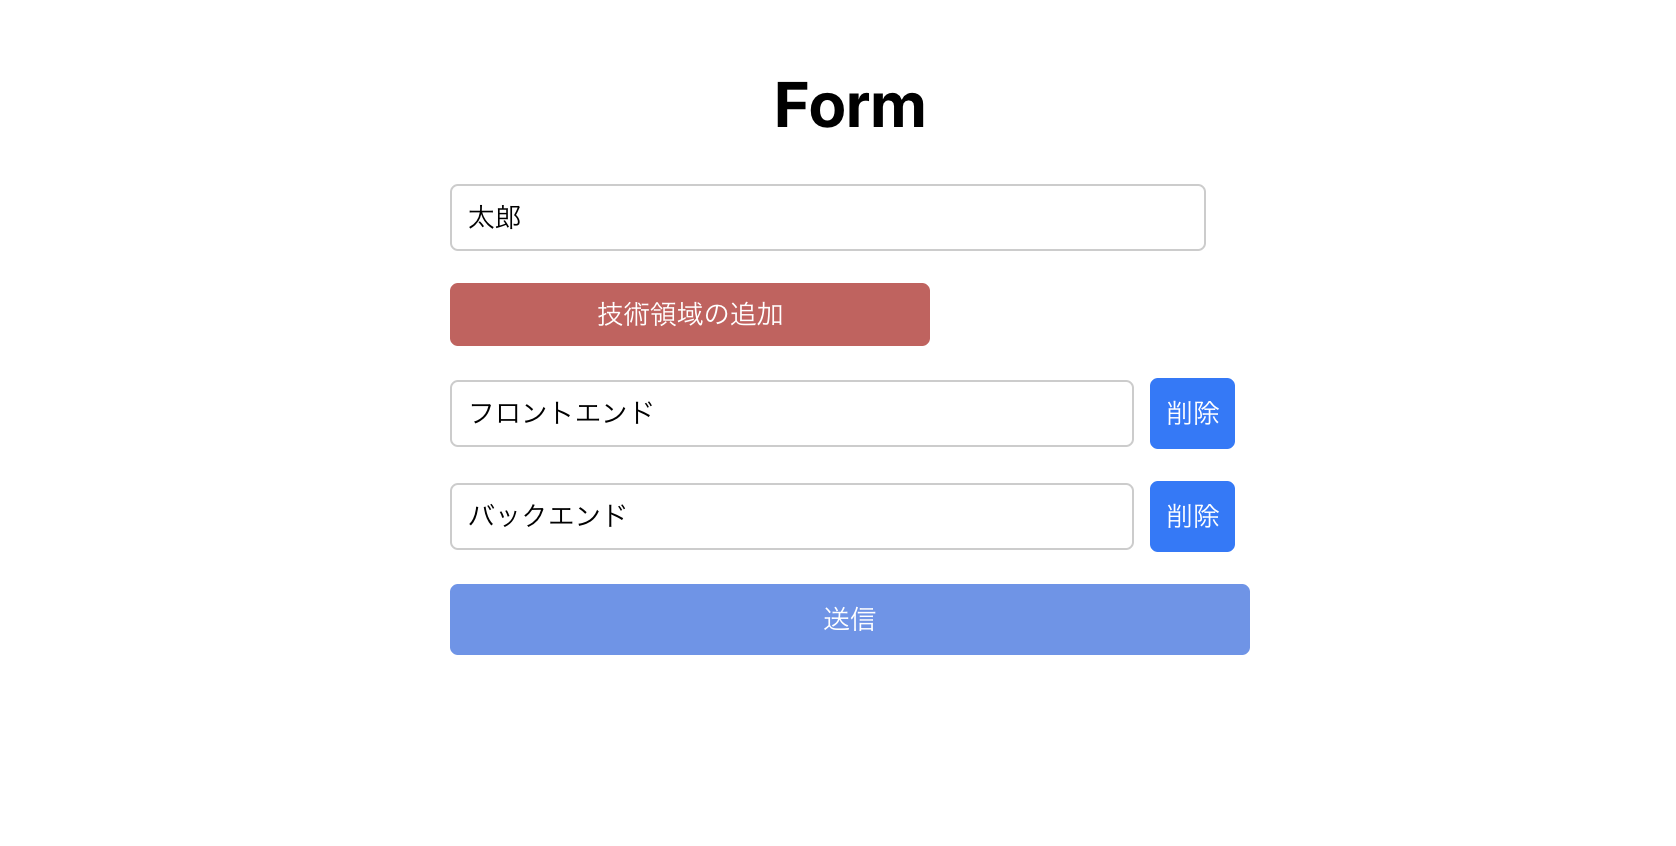
まずは、基本的なuseFieldArrayを用いた実装です。
App.tsx
import React from 'react';
import './App.css';
import { useForm, useFieldArray, UseFormRegister } from 'react-hook-form';
import styled from '@emotion/styled';
import { TechnicalArea } from "./components/TechnicalArea";

type TechnicalAreaType = {
  technical: string;
}

type FormType = {
  name: string;
  technicalArea: TechnicalAreaType[];
};

function App() {
  const { register, handleSubmit } = useForm<FormType>({
    defaultValues: {
      name: '',
      technicalArea: [{
        technical: '',
      }],
    },
  });

  const { fields, append, remove } = useFieldArray({
    name: 'technicalArea',
    control,
  });

  const onSubmit = (data: FormType) => {
    console.log(data);
  };

  const deleteTechnicalArea = (index: number) => {
    remove(index);
  };

  return (
    <div className="App">
      <div style={{ display: 'flex', flexDirection: 'column', alignItems: 'center', padding: '20px' }}>
        <h1>Form</h1>
        <StyledForm onSubmit={handleSubmit(onSubmit)}>
          <StyledInput {...register('name')} placeholder="名前" />
          <StyledAddButton type="button" onClick={() => append({ technical: '' })}>技術領域の追加</StyledAddButton>
          {fields.map((_field, index) => (
            <TechnicalArea
              key={index}
              register={register}
              control={control}
              mainIndex={index}
              delete={() => deleteTechnicalArea(index)}
            />
          ))}
          <StyledButton type="submit">送信</StyledButton>
        </StyledForm>
      </div>
    </div>
  );
}

export default App;
TechnicalArea.tsx
import { UseFormRegister } from "react-hook-form";
import { FormType } from "../App";

type Props = {
  index: number;
  register: UseFormRegister<FormType>;
  remove: () => void;
};

export const TechnicalArea = ({ register, remove, index }: Props) => {
  return (
    <StyledTechnicalAreaContainer>
      <StyledInput {...register(technicalArea.${index}.technical)} placeholder="技術領域" />
      <StyledButton type="button" onClick={remove}>
        削除
      </StyledButton>
    </StyledTechnicalAreaContainer>
  );
};
useFieldArrayのappend, removeを使用することにより、リストへの追加、リストからの削除を簡単に行うことができます。
const { fields, append, remove} = useFieldArray({
name: 'technicalArea',
control,
});
const deleteTechnicalArea = (index: number) => {
remove(index);
}
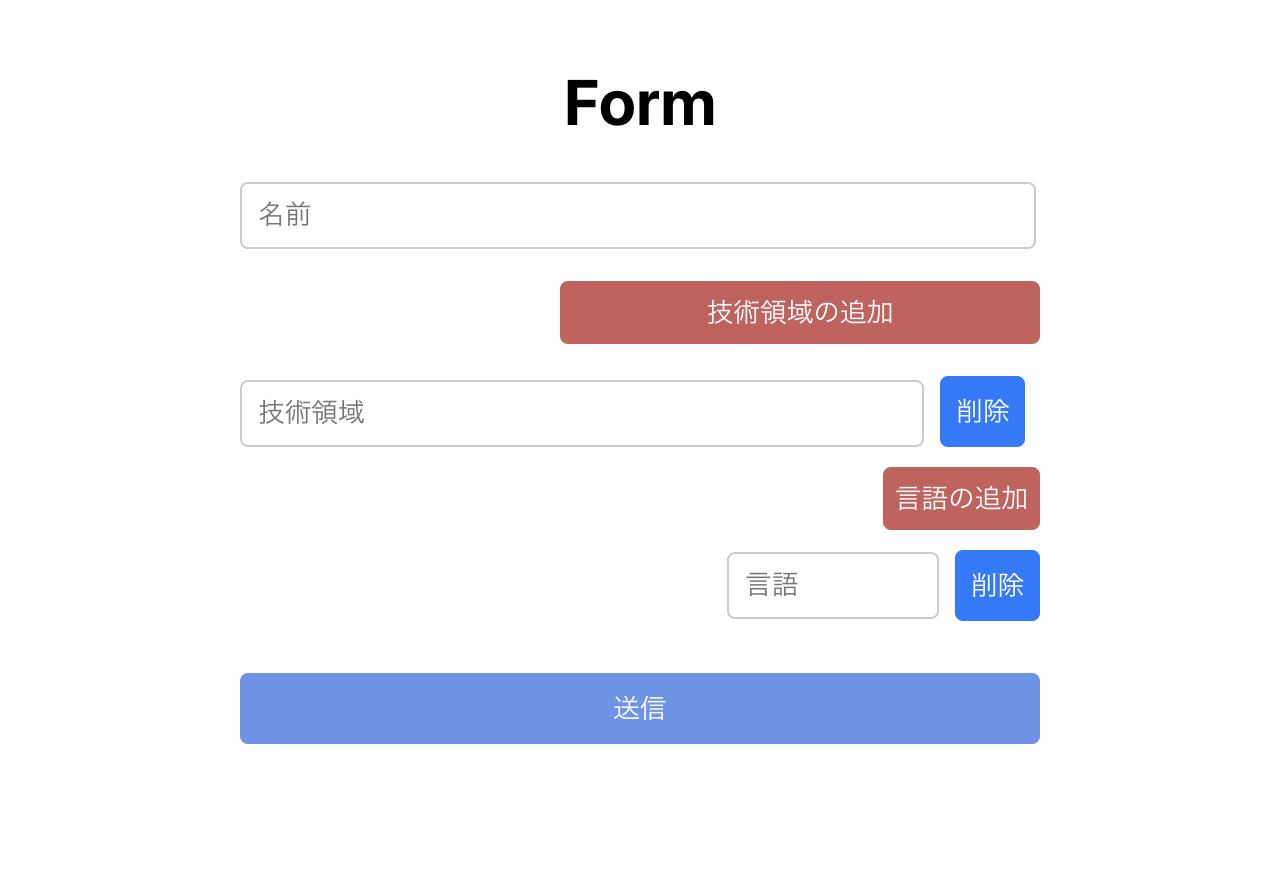
onClick={() => append({ technical: '' })}次に今回のリファクタリングのメインとなった配列が入れ子状態のuseFieldArrayの処理の実装です。
App.tsx
import React from 'react';
import './App.css';
import { useForm, useFieldArray, UseFormRegister } from 'react-hook-form';
import styled from '@emotion/styled';
import { TechnicalArea } from './components/TechnicalArea';

type LanguageType = {
  language: string;
};

type TechnicalAreaType = {
  technical: string;
  languages: LanguageType[];
};

export type FormType = {
  name: string;
  technicalArea: TechnicalAreaType[];
};

function App() {
  const { register, handleSubmit, control } = useForm<FormType>({
    defaultValues: {
      name: '',
      technicalArea: [{
        technical: '',
        languages: [{
          language: ''
        }]
      }],
    },
  });

  const { fields, append, remove } = useFieldArray({
    name: 'technicalArea',
    control,
  });

  const onSubmit = (data: FormType) => {
    console.log(data);
  };

  const deleteTechnicalArea = (index: number) => {
    remove(index);
  };

  return (
    <div className="App">
      <div style={{ display: 'flex', flexDirection: 'column', alignItems: 'center', padding: '20px' }}>
        <h1>Form</h1>
        <StyledForm onSubmit={handleSubmit(onSubmit)}>
          <StyledInput {...register('name')} placeholder="名前" />
          <StyledAddButton type="button" onClick={() => append({ technical: '', languages: [] })}>技術領域の追加</StyledAddButton>
          {fields.map((_field, index) => (
            <TechnicalArea
              key={index}
              register={register}
              control={formControl}
              mainIndex={index}
              delete={() => deleteTechnicalArea(index)}
            />
          ))}
          <StyledButton type="submit">送信</StyledButton>
        </StyledForm>
      </div>
    </div>
  );
}

export default App;
先ほどとの大きな違いは、データの形が二重配列になっている部分になります。
type LanguageType = {
  language: string;
}

type TechnicalAreaType = {
  technical: string;
  languages: LanguageType[]
}

export type FormType = {
  name: string;
  technicalArea: TechnicalAreaType[];
};
TechnicalArea.tsx
import React from 'react';
import styled from '@emotion/styled';
import { Control, useFieldArray, UseFormRegister } from 'react-hook-form';
import { FormType } from '../App';
import { Language } from './Language';

type Props = {
  mainIndex: number;
  register: UseFormRegister<FormType>;
  control: Control<FormType>;
  delete: () => void;
};

export const TechnicalArea = ({ register, delete: deleteTechnicalArea, mainIndex, control }: Props) => {
  const { fields, append, remove } = useFieldArray({
    name: technicalArea.${mainIndex}.languages,
    control,
  });

  const removeLanguage = (index: number) => {
    remove(index);
  };

  return (
    <StyledMainContainer>
      <StyledTechnicalAreaContainer>
        <StyledInput {...register(technicalArea.${mainIndex}.technical)} placeholder="技術領域" />
        <StyledButton type="button" onClick={() => deleteTechnicalArea()}>
          削除
        </StyledButton>
      </StyledTechnicalAreaContainer>
      <StyledAddButton type="button" onClick={() => append({ language: '' })}>言語の追加</StyledAddButton>
      {fields.map((_field, index) => (
        <Language key={index} delete={() => removeLanguage(index)} mainIndex={mainIndex} index={index} register={register} />
      ))}
    </StyledMainContainer>
  );
};
こちらの大きな変更点は、子コンポーネントでもuseFieldArrayの定義をしているところになります。
親コンポーネントで定義した、 nameとcontrolを引き継ぐことによって入れ子の形での配列定義が可能になります。
export const TechnicalArea = ({ register, delete: deleteTechnicalArea, mainIndex, control }: Props) => {
  const { fields, append, remove } = useFieldArray({
    name: technicalArea.${mainIndex}.languages,
    control,
  });
Language.tsx
import React from 'react';
import styled from '@emotion/styled';
import { UseFormRegister } from 'react-hook-form';
import { FormType } from '../App';

type Props = {
  index: number;
  delete: () => void;
  register: UseFormRegister<FormType>;
  mainIndex: number;
};

export const Language = ({ index, delete: deleteLanguage, register, mainIndex }: Props) => {
  return (
    <StyledLanguageContainer>
      <StyledInput placeholder="言語" {...register(technicalArea.${mainIndex}.languages.${index}.language)} />
      <StyledButton type="button" onClick={() => deleteLanguage()}>削除</StyledButton>
    </StyledLanguageContainer>
  );
};
まとめ
今回、既存のシステムのフォームに新規機能を追加するという要件があったのですが、現在のフォームではReact Hook Formが導入されておらず、このまま追加してしまってはコードが煩雑になってしまうことからReact Hook Formへのリファクタリング作業を行いました。 React Hook Formを用いることによってコード量の削減だけでなく、この後に行う追加実装への取り掛かりが楽になったかと多います。
最後に
最後まで読んでいただきありがとうございました。 AI Shift の開発チームでは、AI チームと連携して AI/LLM を活用したプロダクト開発を通し、日々ユーザのみなさまにより素晴らしい価値・体験を届けるべく開発に取り組んでいます。
AI Shift ではエンジニアの採用に力を入れています!この分野に少しでも興味を持っていただけましたら、カジュアル面談でお話しませんか?(オンライン・19 時以降の面談も可能です!) 【面談フォームはこちら】