こんにちは!開発チームの市村です。
本記事はAI Shift Advent Calendar 2022の21日目の記事です。
今回はReact Flowというライブラリについて紹介したいと思います。
React Flowとは
公式サイトによると、
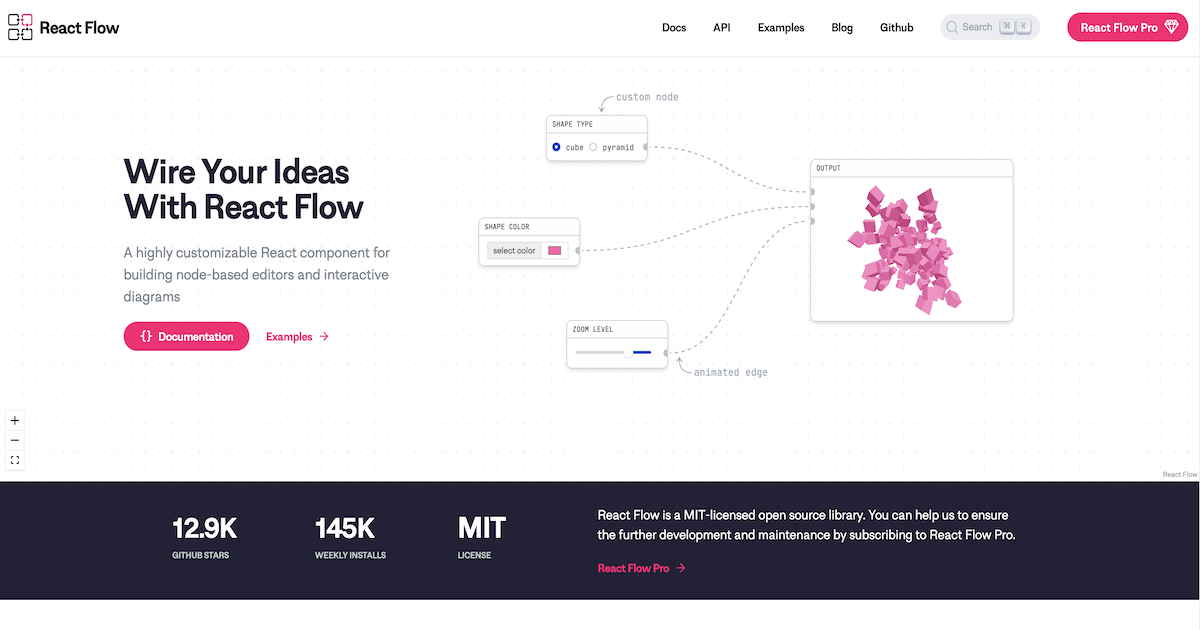
『React Flowはnodeベースのエディターとインタラクティブなダイアグラムを構築する為の、高度にカスタマイズできるReactコンポーネント』です。
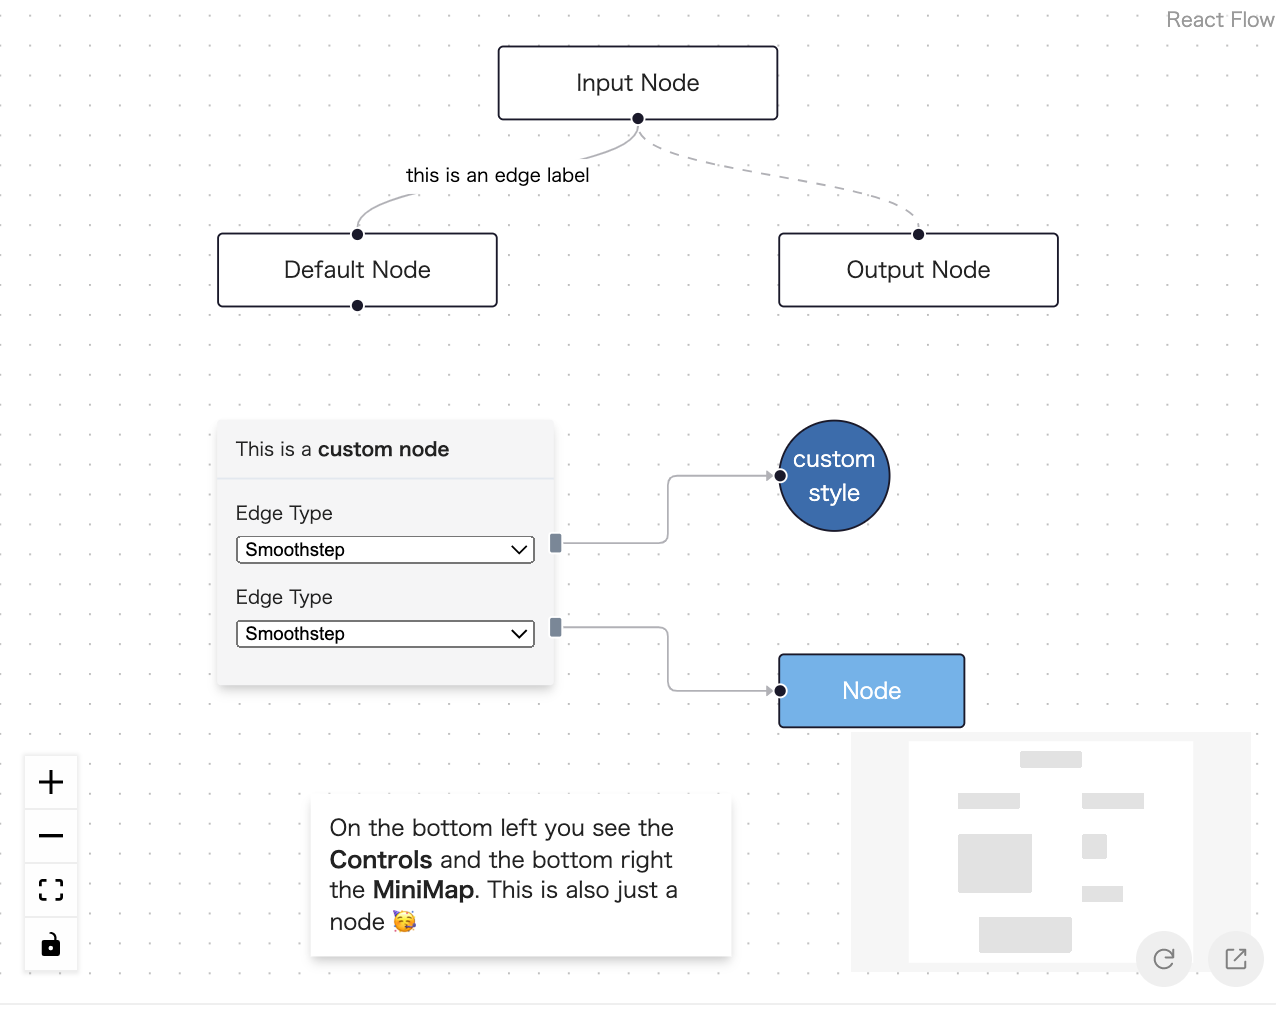
こんな感じのダイアグラムが簡単に描画できます。
早速、実際にReact Flowを使ってみたいと思います。
インストール
yarn add reactflowReact Flowのコンポーネントを利用するには、以下のように書きます。
import ReactFlow from 'reactflow';以下のように数行のコードでReact Flowを利用して、Backgroundを描画したり、画面の拡大、縮小を行うControlsを利用する事ことができます。
import ReactFlow, { Controls, Background } from 'reactflow';
import 'reactflow/dist/style.css';

function App() {
  return (
    <div>
        <ReactFlow>
          <Background />
          <Controls />
        </ReactFlow>
    </div>
  );
}

export default App;
Nodeを描画してみる
Nodeは以下のように定義します。
const nodes = [
{
id: '1',
data: { label: 'Start!'},
position: {x: 0, y: 0},
}
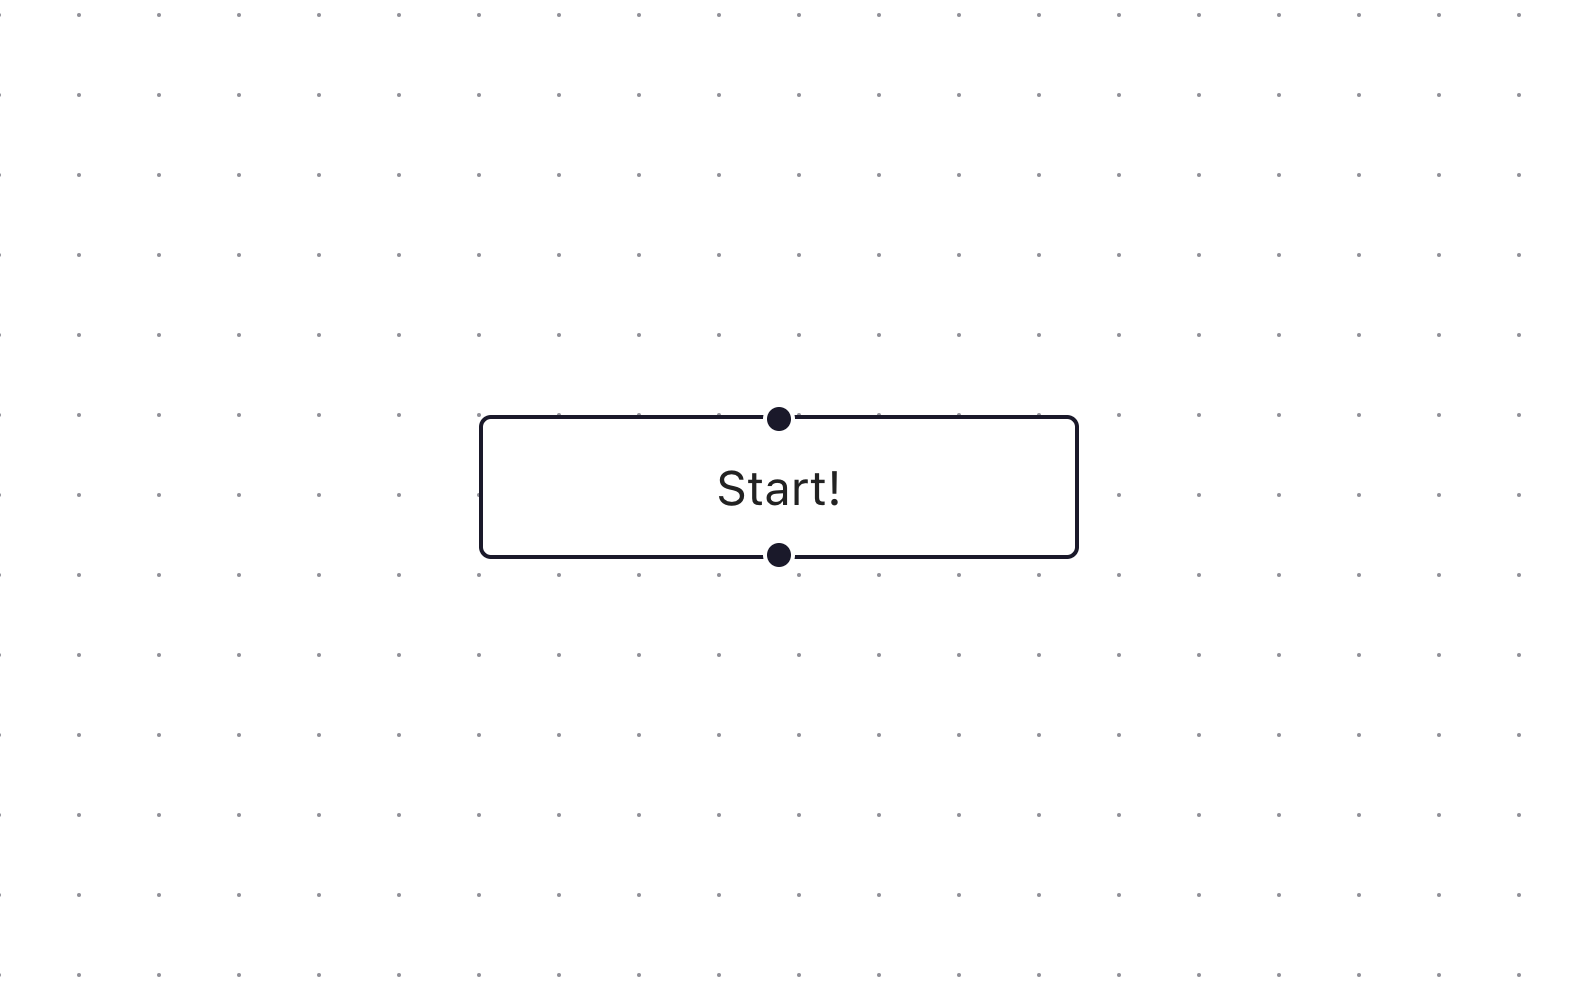
];これだけで最初のNodeが描画できました。
2つのNodeをEdgeで繋ぐ
次は、2つのNodeをEdgeで繋いでみたいと思います。
const nodes = [
{
id: '1',
data: { label: 'Start!' },
position: { x: 100, y: 0 },
},
{
id: '2',
data: { label: 'Node1' },
position: { x: 100, y: 100 },
},
{
id: '3',
data: { label: 'Node2' },
position: { x: 0, y: 200 },
},
{
id: '4',
data: { label: 'Node3' },
position: { x: 200, y: 200 },
}
];
const edges = [
{
id: 'e1-2',
source: '1',
target: '2',
type: 'smoothstep',
markerEnd: { type: MarkerType.ArrowClosed },
},
{
id: 'e2-3',
source: '2',
target: '3',
type: 'smoothstep',
markerEnd: { type: MarkerType.ArrowClosed },
},
{
id: 'e2-4',
source: '2',
target: '4',
type: 'smoothstep',
markerEnd: { type: MarkerType.ArrowClosed },
}
]
function App() {
return (
<div>
<ReactFlow nodes={nodes} edges={edges}>
<Background/>
<Controls/>
</ReactFlow>
</div>
);
}
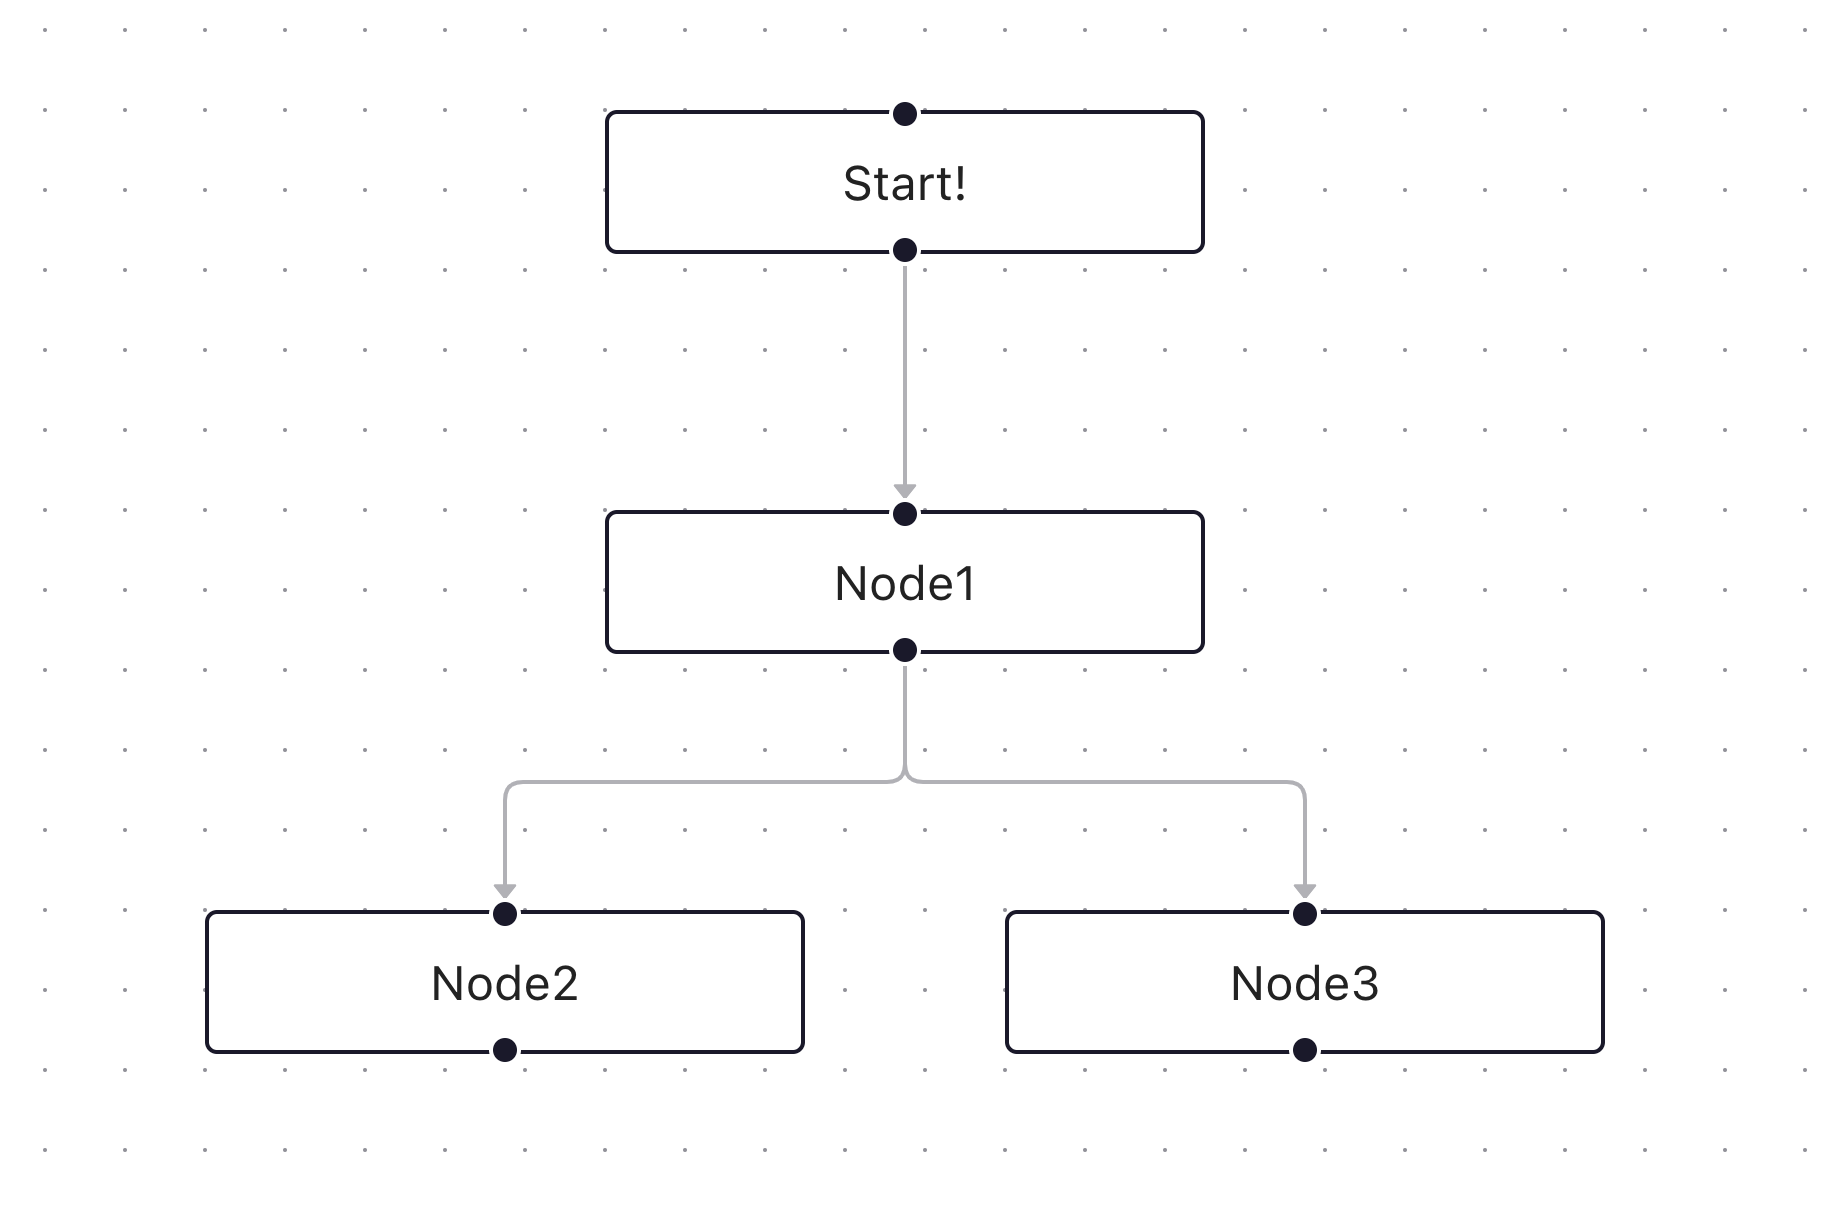
export default App;EdgeはsourceとtargetにNodeのidを指定します。
簡単にNode同士をEdgeで繋ぐ事ができました。
Nodeをカスタマイズする
次にNodeを少し、カスタマイズしてみたいと思います。
以下のようにCustomNodeを定義します。
type CustomNodeData = {
  label: string;
  onBlur: (text: string) => void;
}
const CustomNode = ({ data }: { data: CustomNodeData }) => {
  const [value, setValue] = useState(data.label)
  return (
    <>
      <Handle type="target" position={Position.Top}/>
      <div style={{
        width: '150px',
        height: '50px',
        background: '#cccccc',
        display: 'flex',
        alignItems: 'center',
        justifyContent: "center",
        borderRadius: '3px'
      }}>
        <div>
          <input id="text" name="text" value={value}
                 onChange={(event) => {
                   setValue(event.target.value);
                 }}
                 onBlur={() => {
                   data.onBlur(value);
                 }}
          />
        </div>
      </div>
      <Handle type="source" position={Position.Bottom}/>
    </>
  )
}
nodeTypesを以下のように定義して、ReactFlowに渡します。
const nodeTypes = { 'customNode': CustomNode }

function App() {
  return (
    <div>
      <ReactFlow nodes={nodes} edges={edges} nodeTypes={nodeTypes} >
        <Background/>
        <Controls/>
      </ReactFlow>
    </div>
  );
}
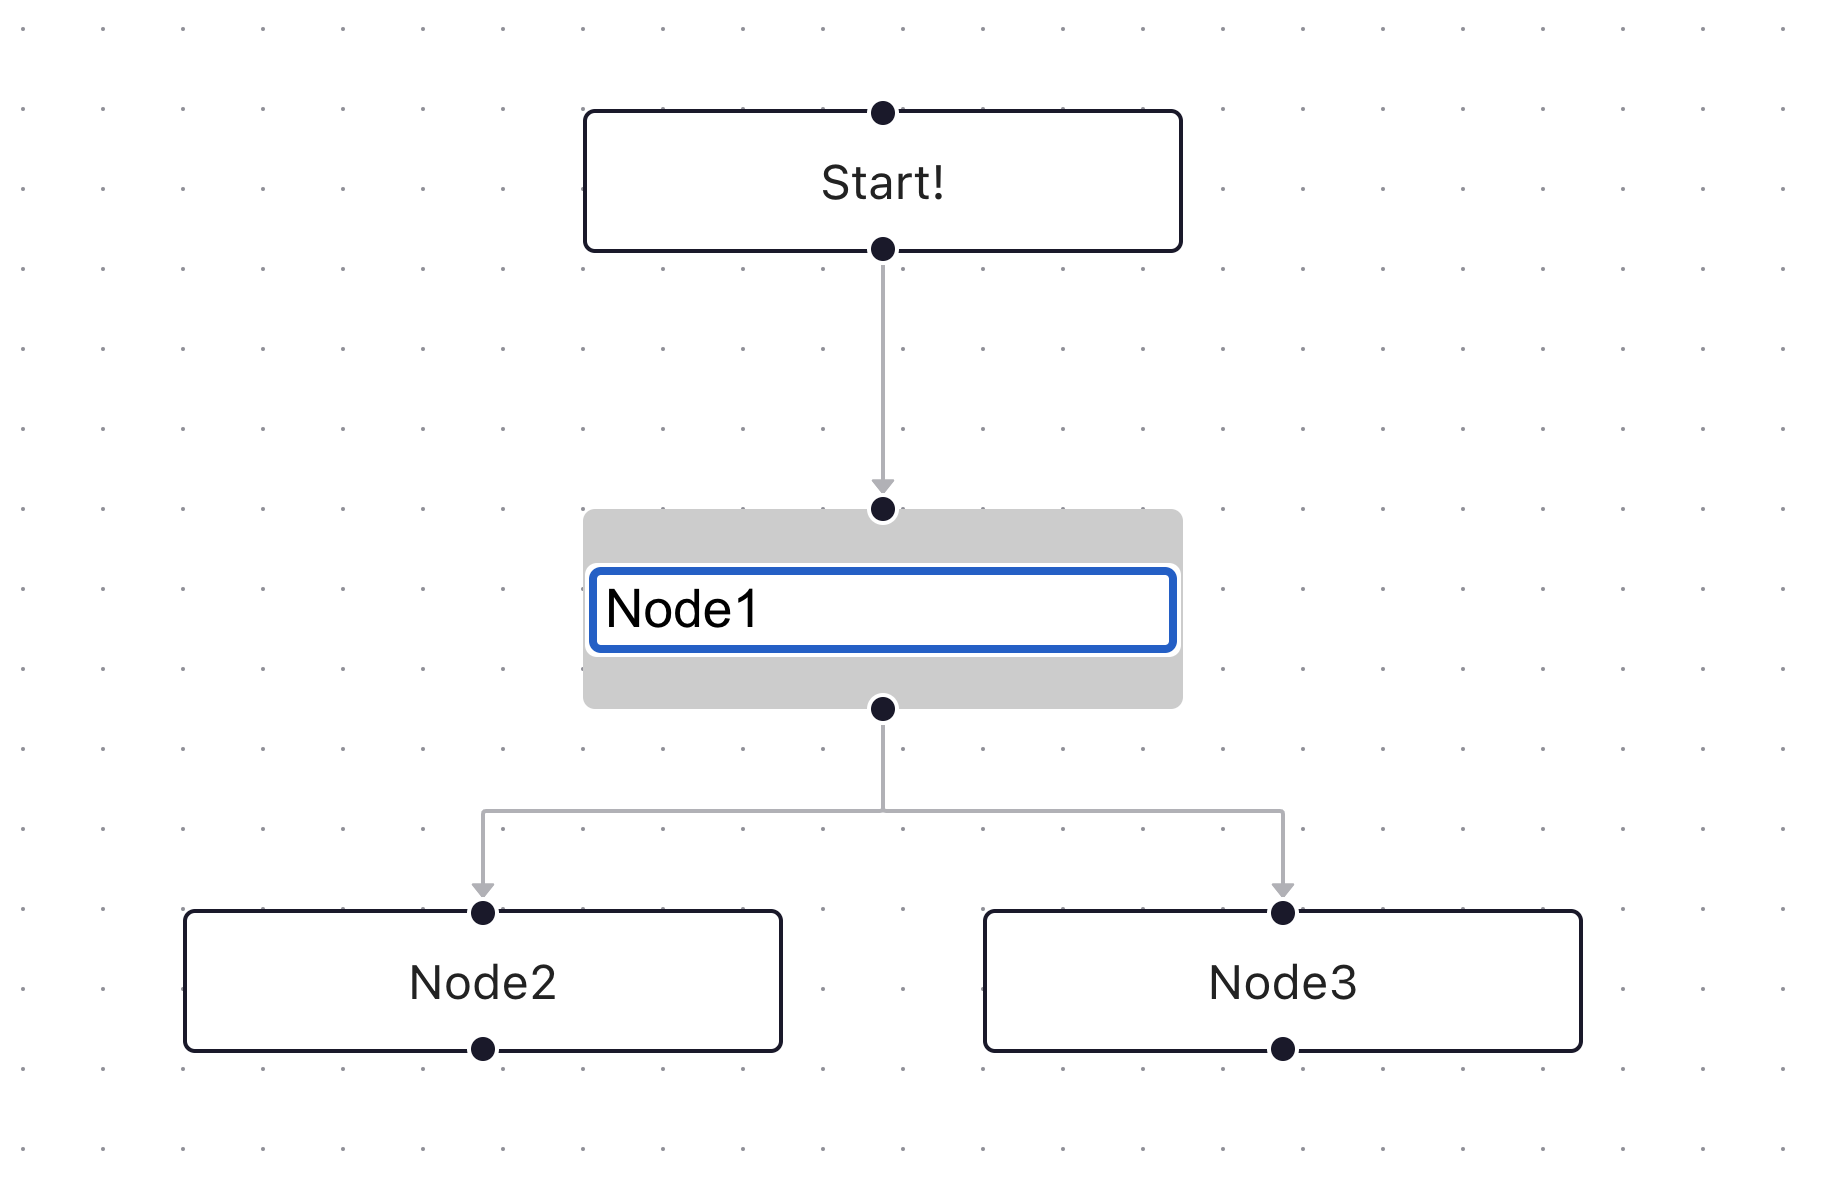
export default App;先に定義したid: '2'(Node1)のノードをCustomNodeにしたいと思います。
const nodes = [
  ....
  {
    id: '2',
    type: 'customNode',
    data: {
      label: 'Node1',
      onBlur: (text: string) => {
        console.log(text);
      }
    },
    position: { x: 100, y: 100 },
  },
  ....
];typeを'customNode'と設定すると、このNodeはCustomNodeとなります。
CustomNodeに渡したい値や関数をdataとして設定すると、CustomNode内でこの値や関数を利用できます。
以下のようにNodeをカスタマイズできました。
まとめ
React Flowはドキュメントも分かりやすく、簡単にダイアグラムを描画する事ができました。
NodeやEdgeのデザインもカスタマイズしやすかったです。
React FlowをAI Shiftの管理画面に導入する予定なので、今後も様々な使い方を模索していきたいと思います。
最後まで読んでいただき、ありがとうございました。
明日は開発チームの青野から「bun.jsの中身を覗いてみよう」という記事が公開される予定です。こちらもご覧いただけると幸いです。
参考
React Flow